In this tutorial, we will integrate NextAuth (now rebranded as Auth.js) with a Web3 credentials provider in a Next.js 14 application. We'll use WalletConnect & Wagmi to create a robust authentication flow.
Prerequisites
- Basic knowledge of NextJS and React
- Node.js and npm installed
- Familiarity with Web3 concepts
Getting Started
Create a new Next.js 14 project and install the necessary dependencies:
npx create-next-app@latest my-web3-app
cd my-web3-app
npm install next-auth@latest
Web3 Integration with WAGMI
WAGMI is a collection of React hooks and utilities designed to help developers build Web3 applications with ease.
npm install wagmi [email protected] @tanstack/react-queryCreate a WAGMI provider in src/web3/wagmi/provider.tsx:
"use client";

import type { PropsWithChildren } from "react";
import { QueryClient, QueryClientProvider } from "@tanstack/react-query";
import { type Config, type State, WagmiProvider } from "wagmi";

const client = new QueryClient();

type Props = PropsWithChildren<{
  config: Config,
  initialState?: State,
}>;

const Provider = ({ children, config, initialState }: Props) => {
  return (
    <WagmiProvider config={config} initialState={initialState}>
      <QueryClientProvider client={client}>{children}</QueryClientProvider>
    </WagmiProvider>
  );
};

export default Provider;
Web3Modal + WAGMI
Install the web3modal integration:
npm install @web3modal/wagmiCreate the config in src/web3/web3modal/config.ts:
"use client";
import { defaultWagmiConfig } from "@web3modal/wagmi/react/config";
import { cookieStorage, createStorage } from "wagmi";
import { mainnet, sepolia } from "wagmi/chains";
export const projectId = process.env.NEXT_PUBLIC_WALLET_CONNECT_ID;
const chains = [mainnet, sepolia] as const;
const metadata = {
name: "My dApp",
description: "Used to connect your wallet to use dApp",
url: "http://localhost:3000",
icons: [],
};
export const config = defaultWagmiConfig({
chains,
projectId,
metadata,
ssr: true,
storage: createStorage({
storage: cookieStorage,
}),
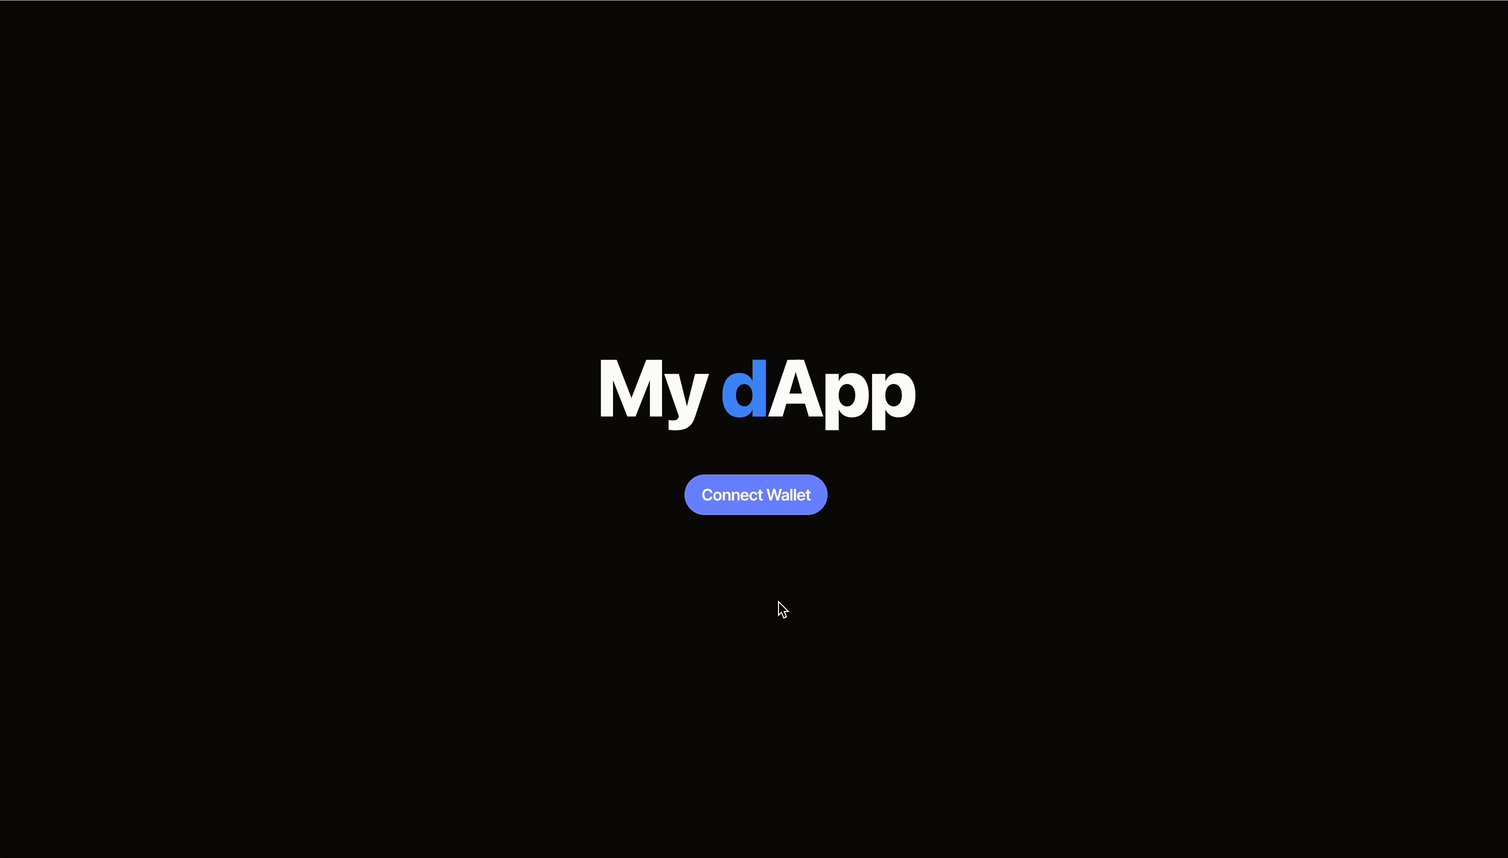
});Once configured, you can test the wallet connection:
AuthJS Setup
Create app/server/auth.ts:
import Credentials from "next-auth/providers/credentials";
import { getServerSession } from "next-auth";
import { isAddress } from "ethers/address";
import type { DefaultSession, NextAuthOptions } from "next-auth"

declare module "next-auth" {
  interface Session extends DefaultSession {
    address?: string;
  }
}

export const authOptions: NextAuthOptions = {
  callbacks: {
    session: ({ session, token }) => {
      session.address = token.sub;
      return session;
    },
  },
  providers: [
    Credentials({
      name: "Credentials",
      credentials: {
        address: {
          label: "Address",
          type: "text",
          placeholder: "0x0",
        },
      },
      async authorize(credentials) {
        if (!credentials?.address) return null;
        if (!isAddress(credentials?.address)) return null;
        return { id: credentials?.address };
      },
    }),
  ],
  session: { strategy: "jwt" },
  pages: {
    signIn: "/",
    signOut: "/",
    error: "/",
    newUser: "/",
  },
};

export const getServerAuthSession = () => getServerSession(authOptions);
Here's a diagram showing the authentication flow:

The useWeb3Auth Hook
Create app/web3/hooks/use-web3-auth.ts:
"use client";

import { useAccount } from "wagmi";
import { useWeb3Modal, useWeb3ModalEvents } from "@web3modal/wagmi/react";
import { signIn, useSession, signOut } from "next-auth/react";
import { useEffect, useCallback, useState } from "react";

type Return = [
  isConnected: boolean,
  connect: () => Promise<void>,
  disconnect: () => Promise<void>,
];

export const useWeb3Auth = (): Return => {
  const event = useWeb3ModalEvents();
  const { status } = useSession();
  const { open } = useWeb3Modal();
  const { isConnected, address } = useAccount();
  const callbackUrl = "/swap";
  const [isOk, setOk] = useState(false);

  useEffect(() => {
    if (status === "loading") return;
    setOk(status === "authenticated");
  }, [status]);

  useEffect(() => {
    const handleConnectSuccess = async () => {
      if (event?.data?.event === "CONNECT_SUCCESS") {
        await signIn("credentials", { address, callbackUrl });
      }
    };
    if (event && address) {
      handleConnectSuccess().catch(console.error);
    }
  }, [event, address]);

  const authenticate = useCallback(async () => {
    if (!isConnected) await open();
    if (!isOk && isConnected) {
      await signIn("credentials", { address, callbackUrl });
    }
  }, [isOk, isConnected, address, open]);

  const disconnect = async () => {
    await signOut({ callbackUrl: "/" });
  };

  return [isOk, authenticate, disconnect];
};
Web3Button Component
Create app/components/web3-button.tsx:
"use client";

import { useWeb3Auth } from "~/web3/hooks/use-web3-auth";

export const Web3Button = () => {
  const [isAuthenticated, connect, disconnect] = useWeb3Auth();

  if (!isAuthenticated) {
    return (
      <button onClick={connect}>
        Connect Wallet
      </button>
    );
  } else {
    return (
      <button onClick={disconnect}>
        Disconnect Wallet
      </button>
    );
  }
};
Results
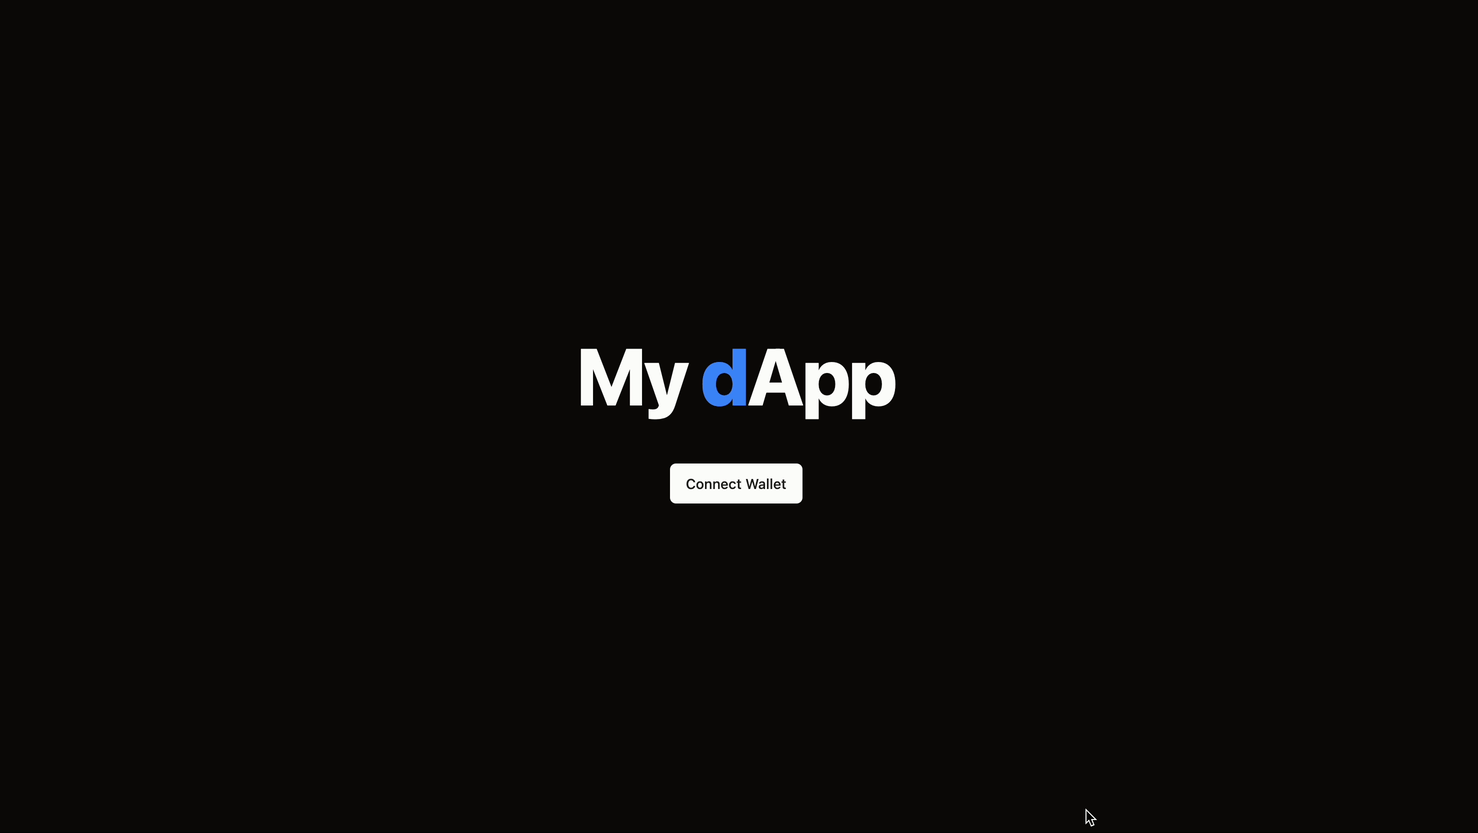
Here's the complete app in action:
Conclusion
In this blog we saw how to setup NextJS, Auth.js and Web3 to connect to a wallet as an authentication provider. Compared to traditional providers such as OAuth or Email, Web3 provides a simple and easy to use way to connect to dApps and provide both authorization and authentication.
As always I was your host Break Zero and if you liked this article make sure to share as it would mean the world to me!
Thank you for reading!